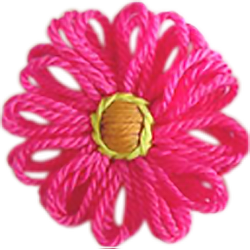
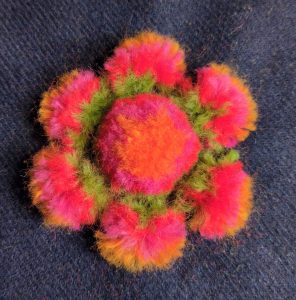
This tiny plush flower is one of the most unusual, but simplest motifs to embroider using the plush template technique. (See the knot-free technique tutorial for information on technique, making templates, and materials).
It took me three tries to figure out how it was done, and I’m sharing the results so you don’t have to work it out from scratch!
Materials
Note: If you don’t already know how to stitch this style of embroidery, read the knot-free technique tutorial first.
- Scraps of dk or fingering weight wool (use fingering weight doubled). I used four colours.
- A template. Download the pdf to make a card or plastic template.
- Backing fabric
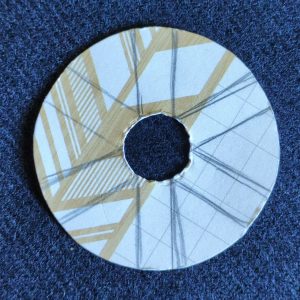
The tiny flower motif can be worked on almost any sized circle, but I tested out a few variations and the size I’ve supplied in the downloadable template file worked the best.
I’ve marked out the stitching lines to help you keep each petal exactly the same size. Your template will be neater than mine, this is my test one!
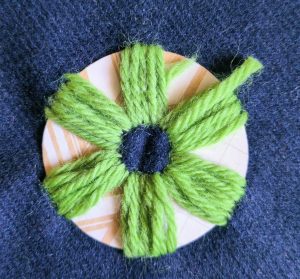
Work the first layer as if you were stitching the centre of the star in the knotless technique tutorial. Keep the stiches as close together as possible.
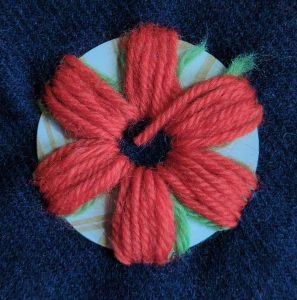
Work the second layer over the top.
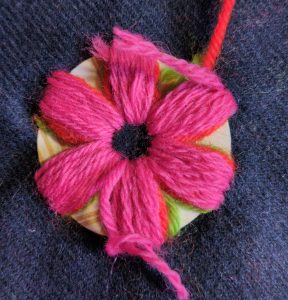
And the third layer. This layer should be very slightly narrower than the previous ones.
If you look closely, you can see a thread of the previous layers on either side still showing. This will help give the petal it’s round, pompom shape.
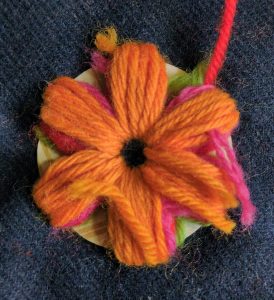
Work the final layer in the same way, slightly narrower than the previous one.
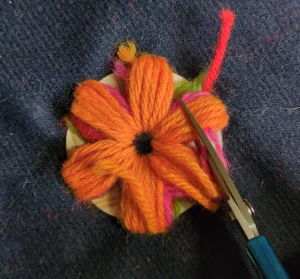
Cut through the centre of each group of threads.
You can experiment by cutting slightly closer to the centre to make larger petals and a smaller centre pompom if you’d like to create some variation.
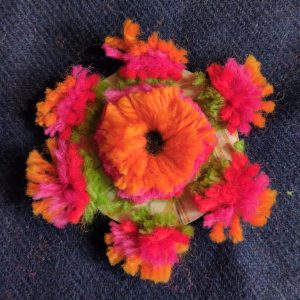
The motif after cutting through all of the threads.
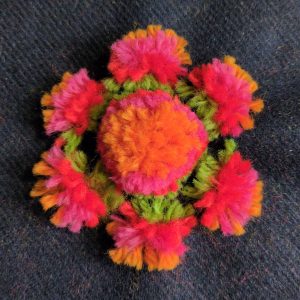
Remove the template and fluff up the stitches with your hands.
As with the star motif, it’s important to push the stitching through the centre hole. Don’t just pull on the template, as it will tear.
Give your motif a thorough brushing to fluff out all the little pompoms.
Finally, trim off any extra fuzz and loose ends.
This tutorial, including all templates and photographs is copyright Sarah Bradberry, June 2026. All rights reserved.