For my stem stitch sampler this week I wanted to achieve something very simple, to work neatly. Specifically to learn to work tight curves and to document the way I turn sharp corners because I can never remember how I did it last time.

(Click the photo for a larger view).
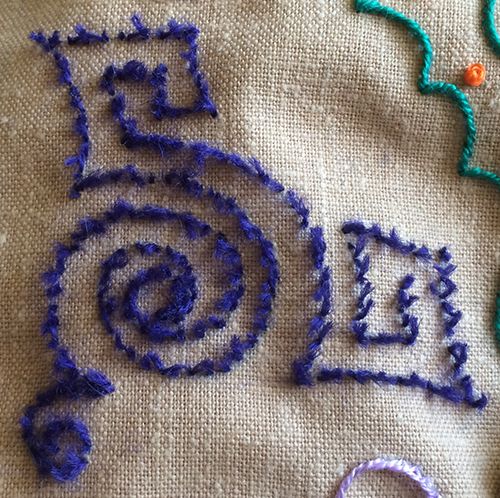
I used some of my antique embroidery transfers (I trace them with an iron on pencil) because the butterflies are really great practice for both, with their spiky edges and big curvy wings. (You can download the butterflies and the curlicue on the left from the 20’s for free). The top butterfly is worked in mercerised cotton sizes 8 and 10. The bottom large and small butterflies are worked in 3 threads of stranded embroidery cotton. The tiny bug has perle cotton for the body, vintage rayon for the wings and size 30 Japanese sewing silk for the antennae. The spirals are worked in different thicknesses of perle cotton and differing numbers of strands of stranded embroidery cotton.
I read somewhere (sorry, I’ve forgotten where), that the way to work stem stitch around tight corners is to use very small stitches so you don’t get a spiky edge. That worked beautifully. At times, I put my needle under just one or two threads for each stitch, especially on the arch shapes on the butterfly wings.
I couldn’t find any information on turning sharp corners and it took a bit of work to remember how I usually do it.
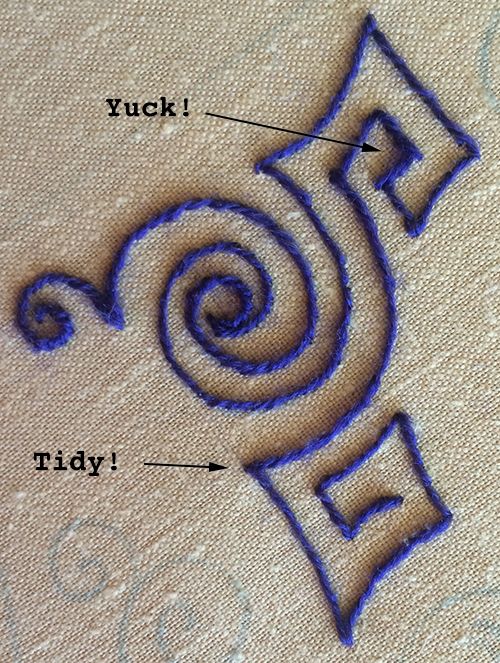
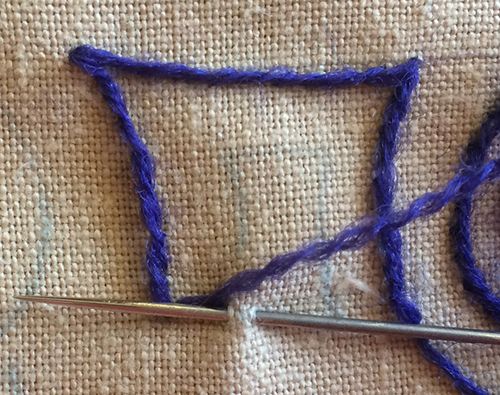
Here is my technique in pictures.
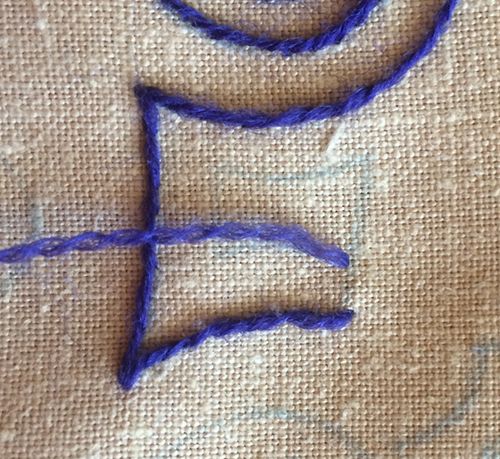
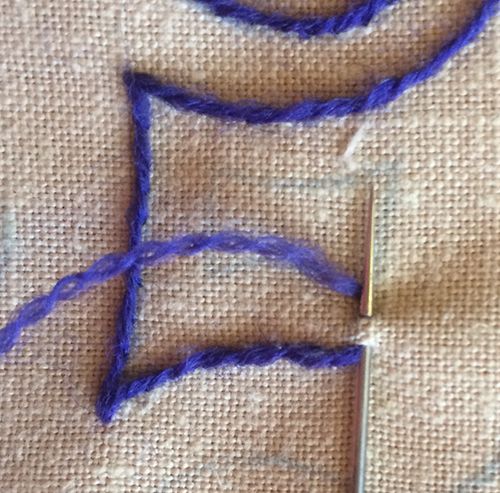
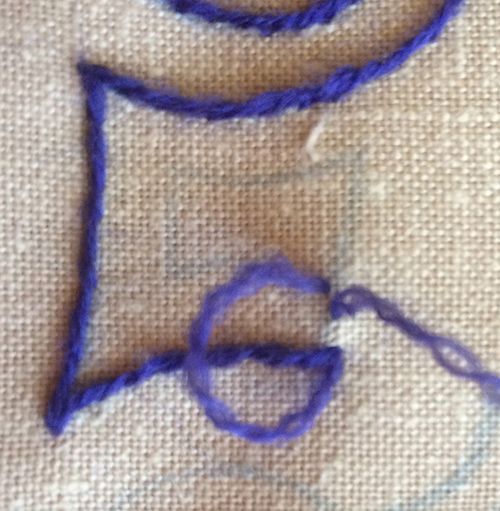
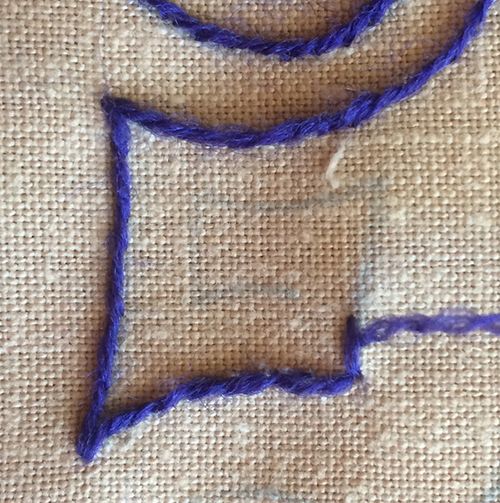
Now turn and continue in stem stitch as usual.
As I finished off I realised the weave of my fabric was far too tight for working with Appleton wool and it was getting badly shredded so I pulled it all out and reworked it in cotton 🙂
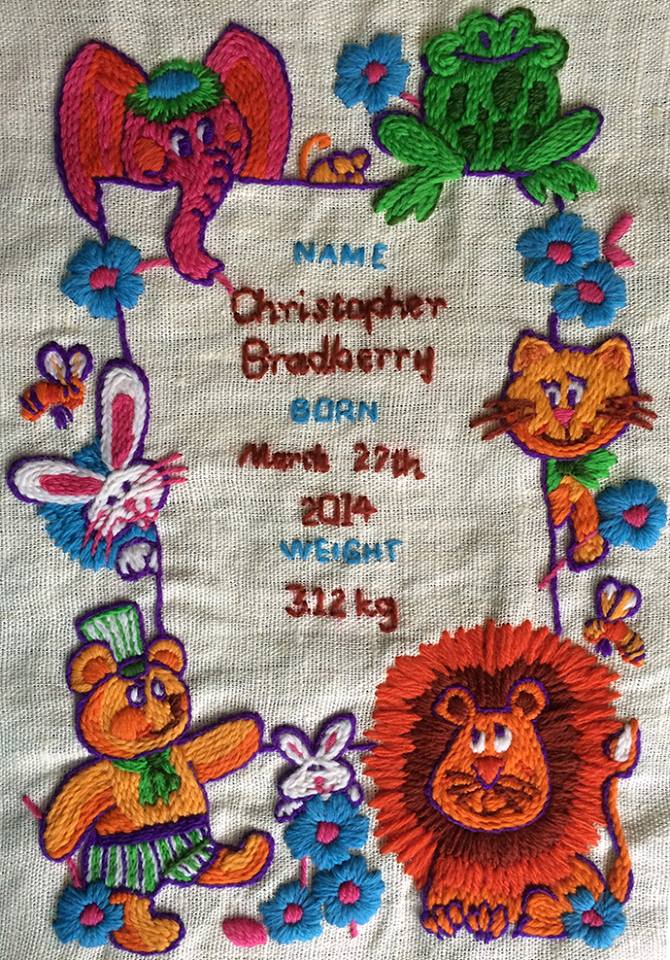
Here’s a birth sampler I made earlier in the year for my nephew. Most of the filling and outlines are stem stitch, worked in full or half thicknesses of Semco Gobelin wool, which is about the same thickness as dk weight knitting yarn. I really love how the characters worked in the thick yarn seem to sit on top of the fabric.
Now I had better get going on my French knot sampler. I’ve done about 1/3 so far!
Some useful links:
TAST on Facebook
Sharron’s TAST FAQ on her website, Pintangle.
Free vintage stitch book downloads.
My TAST Pinterest Boards