![]()
(Click on the photo for a larger view)
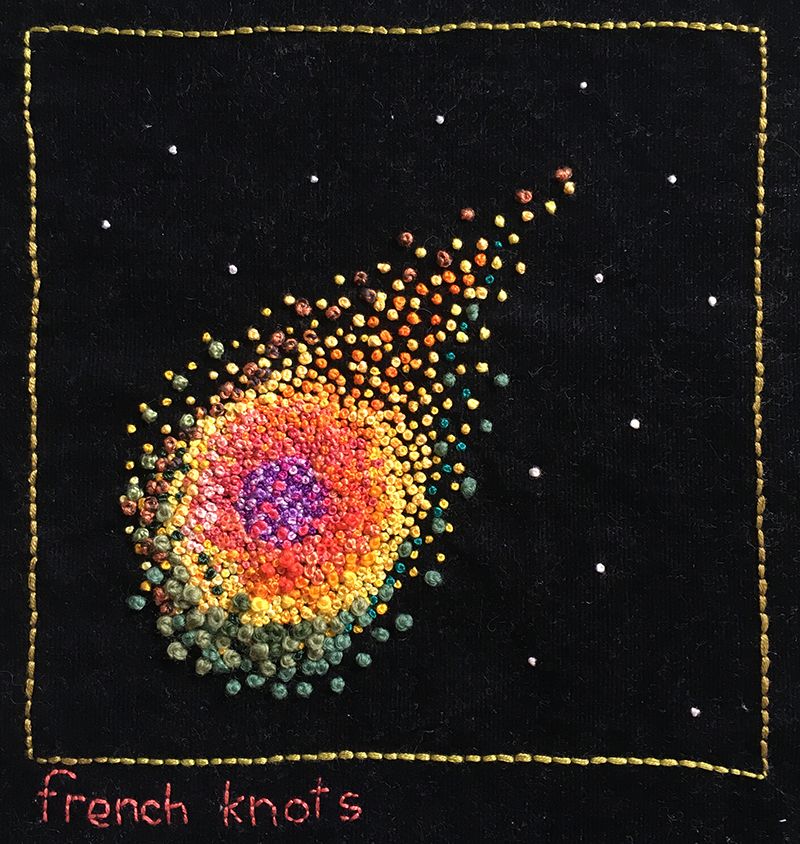
My half chevron stitch sampler for week 18 of the Take a Stitch Tuesday embroidery challenge.
I had absolutely no idea what I wanted to do for this sampler so I grabbed my bag of scrap threads and just started stitching.
At the bottom I started with randomly overlapped stitches in greens which I made into flowers with orange French knots.
Above that I used different types of brown thread and different sized stitches in very straight sections to create an unplanted area of soil. Above this are another couple of random “grass” rows.
For the sky I worked rows of half chevron back to back in a flowing filling stitch. I really like the way you can emphasise the curves by working some sections along the row quite openly and others very close together.
Finally, I tried using the half chevron stitch as an outline. For the cloud the spikes point inwards, and on the sun they point outwards. Considering I had no idea what I was going to stitch when I started, I’m really pleased with the outcome!
Some useful links:
TAST on Facebook
Sharron’s TAST FAQ on her website, Pintangle.
Free vintage stitch book downloads.
My TAST Pinterest Boards