Menu Close

Mostly Knitting Blog

Want to find the new stuff on Knitting-and.com, or read about my latest projects and discoveries? This is the place.

Beyond TAST Embroidery Samplers – Rice Stitch and Layering

The first thing I did after uploading the new version of the website was to get straight back to my Take a Stitch Tuesday samplers. (You can click on the photos for a closer look).

Rice stitch. We didn’t work rice stitch for the last TAST, so even though I’m working on Beyond TAST challenges now, I decided to work up a sampler to add to my stitch books.
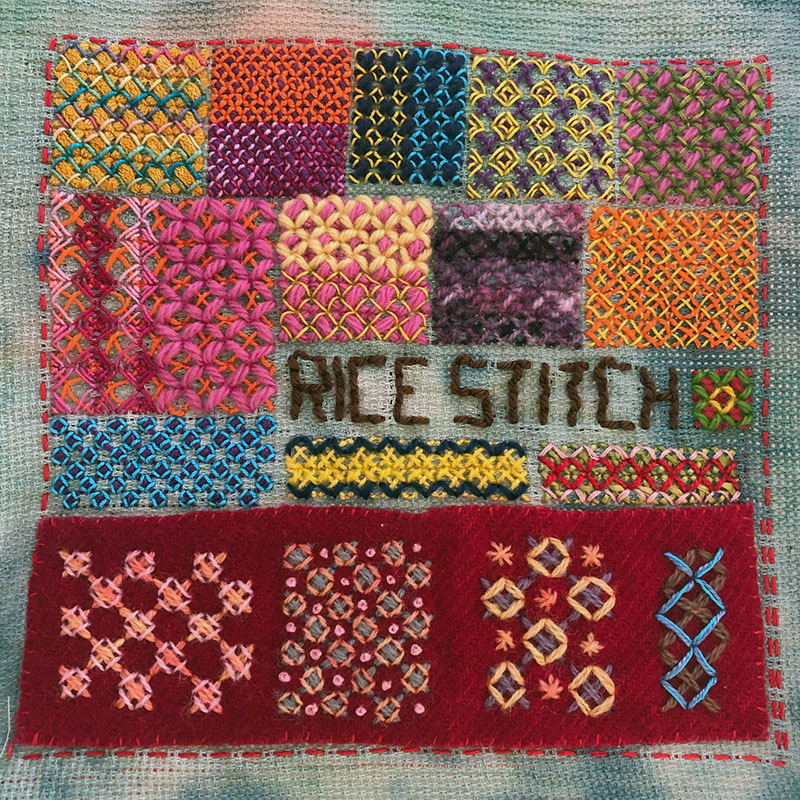
Embroidered sampler with rice stitch on even weave fabric and wool blanket

I hated it.

At least, I hated everything I worked above the words. Then I decided to sew on a scrap of wool blanketing and work freehand and I loved it. It turns out that what I really didn’t like was the floppiness of the fabric as I’d washed out all the sizing when I dyed it. If I have any of this fabric left I’ll definitely starch it before stitching on it. I almost always wash my samplers after finishing them so it shouldn’t be a problem.

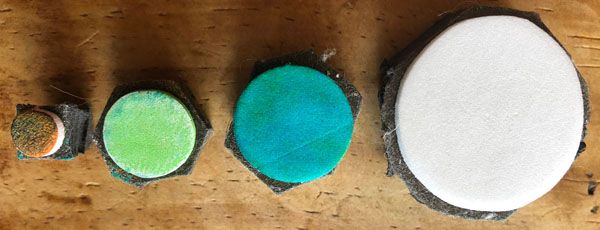
Speaking of washing, check out how much the orange crochet thread at the top bled! I definitely won’t be using that in embroidery again. I do love it though, I’ll just keep it for some single coloured crochet. Normally, I’d try washing it out but it doesn’t really bother me, what with the multi coloured background and the fact that not much will show once it’s mounted into a book. I didn’t really notice it until after I took the photo.

Next is my latest sampler for Beyond TAST. Exploring layered stitching.

I decided “layer all the things!” would be my premise so I gathered up strips of fabric (cut from previous TAST samplers), unspun wool scraps, and just about every type of thread I own. I even glued on some little plastic flowers. (E6000  glue is just as magic as I had been led to believe).

Embroidered sampler with layered stitching.

My theme started out as Australian plants and just grew from there. Pardon the pun 😉

I found one of the most interesting parts of this sampler was the layering of colours. I the flower bush, I had worked many shades of green and brown before sticking on the little plastic flowers. Once they were stuck on, they didn’t look like they belonged until I added lots of stitching in the flower colours to tie them in with the background shrubbery. If I were to try this again, I might even go as far as needle felting all sorts of things into the background. I had intended to here but after painting the calico, my embellisher probably would have just shredded it rather than incorporating any fibre into it.

Next up, I’m working on exploring line stitches. I’ll probably end up with two or three 8 inch samplers as there are a few different things I’d like to record.

Sarah

An Impromptu Tutorial: Repairing a Teddy Bear

While our family were checking out the various recycling yards and op shops in our area the other day, my son adopted a poor little teddy bear he named Blinky.

Teddy bear with a missing eye

Meet Blinky.

Charlie felt sorry for Blinky, and convinced that I could fix him, he brought the bear home.

It turned out that I had a matching eyeball in my stash. What self respecting crafter doesn’t have an eyeball stash? (I have noses too) 😉

The result? Please enjoy my new tutorial: How to replace a teddy bear’s eye.

Sarah

A Bit of Arty Recycling with Foam Printmaking Blocks

Yesterday we took a family trip to the recycling yard (as you do), and I found some boxes of sticky foam sponge shapes, that I assume were meant to be used as packaging somehow.

The type of foam reminded me of the kind used to make Art Foamies, so I stuck them onto three cork place-mats, and now I have a new set of printing blocks!

Printing plate made from sponges and an old placemat

(Above) This one was inspired by the Mid Century Modern school of design. I might carve some little flower and motif stamps to print over the top. Or maybe some fish.

(Below) I decided to see what I could do with all of the pieces that had been cut up and the odd shapes. This block was inspired by the designs on the Pyrmont incinerator designed by Walter Burley Griffin in the 1930’s. I had the honour of seeing it shortly before it was demolished. The architectural detail was stunning even in the state of decay it was suffering in 1990.

Printing plate made from sponges and an old placemat

I used the last of the foamy sponge pieces at an angle, a bit like herringbone brickwork, only with two sizes of oblongs and great big gaps 🙂

Printing plate made from sponges and an old placemat

These are multi purpose plates. I can roll paint onto them using a foam brayer and print with them that way. I can sponge colours on for a multi-colour effect, or use them as texture plates with a gelli plate. I have so much experimenting to do! I think I’ll start with printing some fabric.

I also found this little bonus in one of the pots of foam pieces. It looks like the previous owner had a similar idea to mine as they had made a little set of round stamps.

Foam stamps

Do you like printing on fabric or using gelli plates? Leave a comment with a link to your work becuase I’d love to take a look!

Sarah

Today’s New Knitting Pattern – A Lace Lovely

Reversible knitted lace scarf
Today’s new knitting pattern is a beautiful lace scarf inspired by Shetland lace by Margaret Anderson of New Zealand. Written in 1936 for a knitting competition in an Australian knitting magazine, I think you’ll agree that Miss Anderson was robbed when she only tied for 6th place!

Margaret’s Reversible Scarf

I know I asked yesterday if anyone would like a pattern for a baby jacket or an edging but I couldn’t wait to get a new pattern up. They’ll be next!

Sarah