Small loom projects are portable, let you use up even the smallest of yarn scraps and are a great way to play with colours.
Whether you’re making a bunch of flowers, a woven quilt, or small pieces to use in your scrap booking or art, you’ll find lots of techniques to play with.
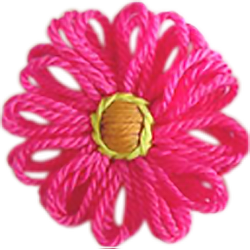
Techniques to use with flower looms, and tied waffle weave looms such as the Lily Speed-O-Weave can all be found here.


