
 |
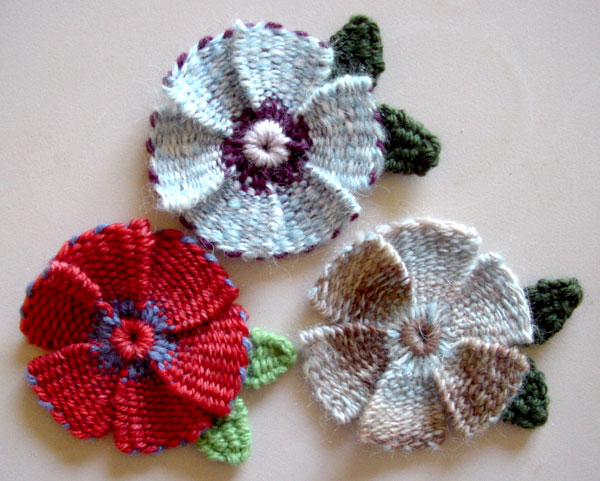
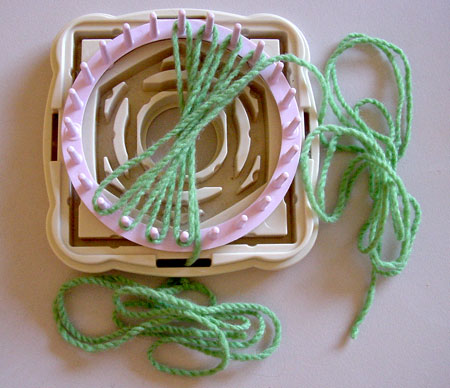
For this style of flower you will need a 24 pin flower loom. I have used the Clover Hana-Ami (or Hanaami) loom in my tutorial because they are readily available at the time of writing this (April 2010)
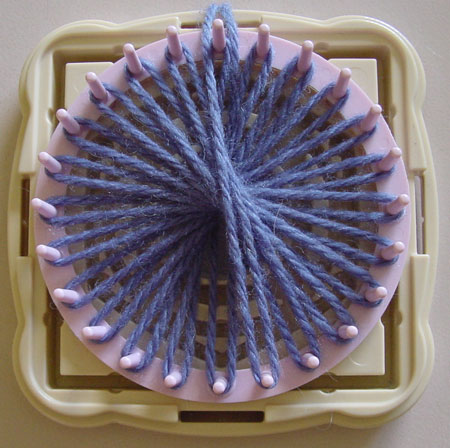
There’s no reason you couldn’t use a 12 pin flower loom, just weave each petal over 4 threads instead of 8. Choose two colours with a good contrast if you want a distinct two colour petal. Begin by winding around your loom once. |
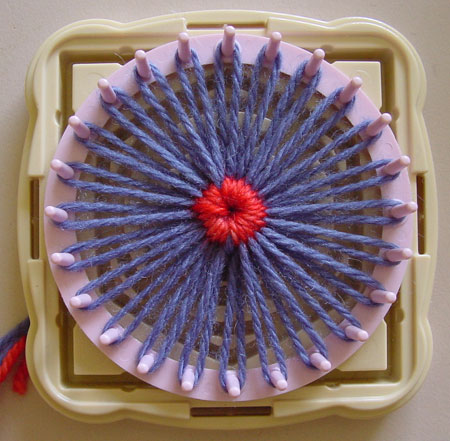 |
Sew your choice of centre. I stitched an open centre for my samples. See the “Flower Looms” page for more choices. |
 |
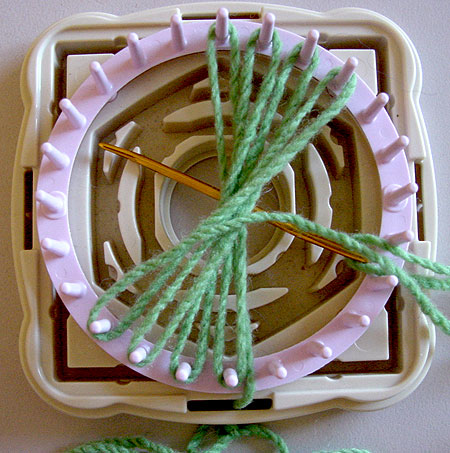
Poke the ends of the threads through to the back so they don’t get in your way. |
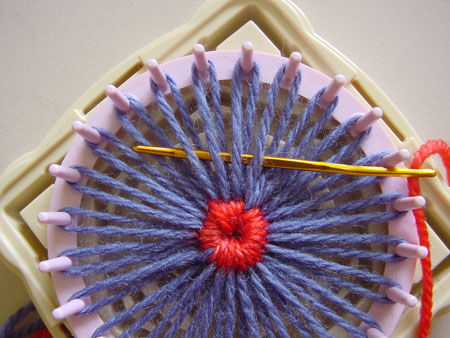 |
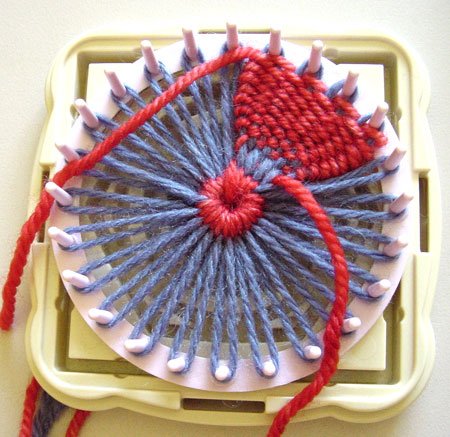
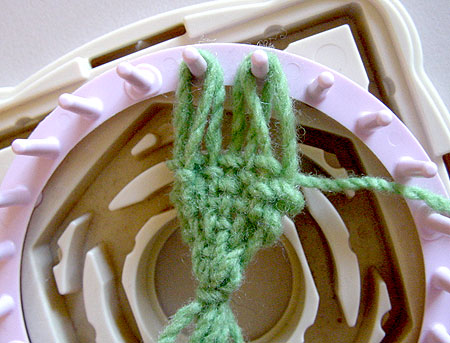
Each petal is woven over 8 threads (4 loops)
Thread some yarn in a blunt wool needle and go over the first thread, then under, over, under, over, under, over and finally under the last thread. |
 |
Pull the yarn through, leaving a 4″/10cm tail. |
 |
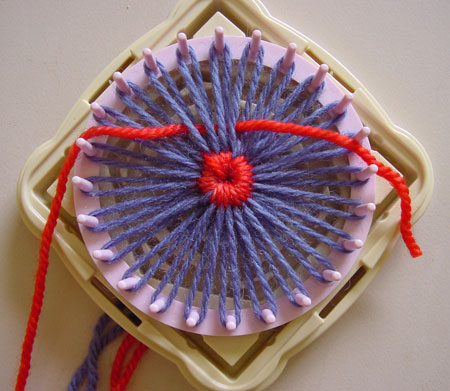
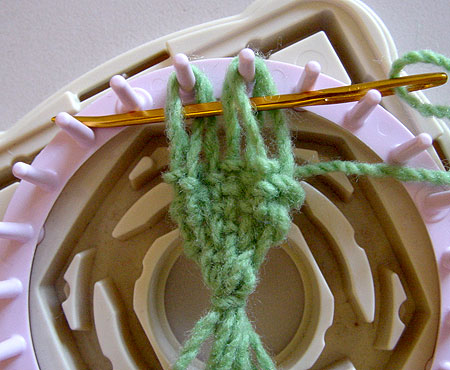
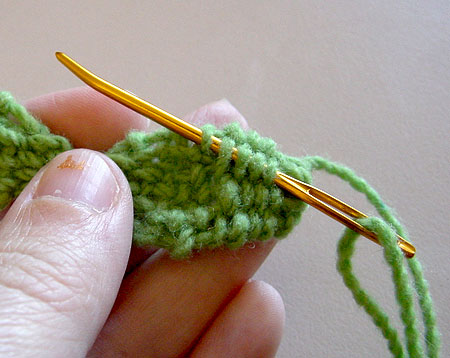
Now weave back in the other direction. Over, under, over, under, over, under, over and under and pull the yarn through. |
 |
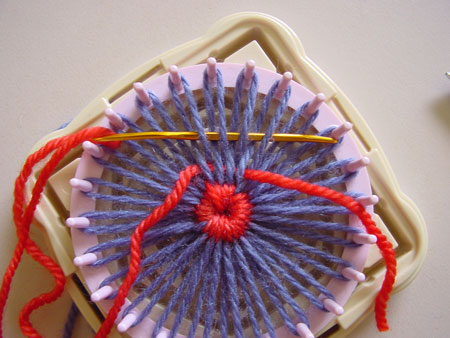
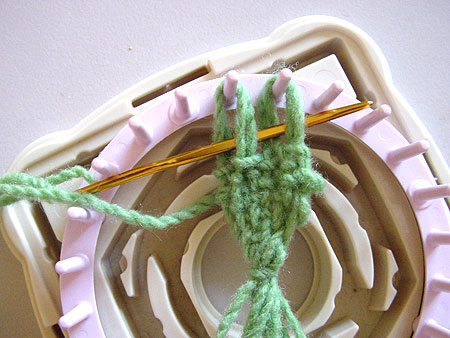
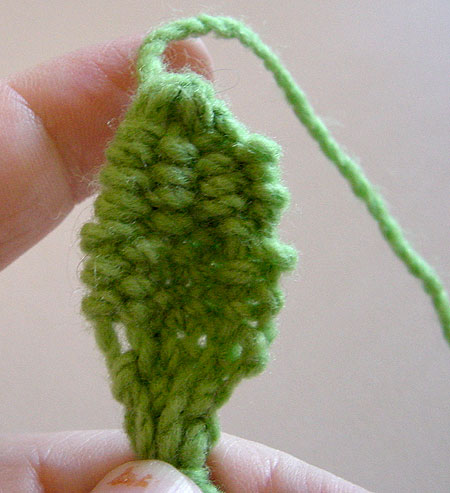
Keep weaving until your petal is full, pushing the weaving towards the centre of the flower as you work. Weave a couple of rows more than you think you want. |
 |
Cut the yarn leaving a 4″/10cm tail. |
 |
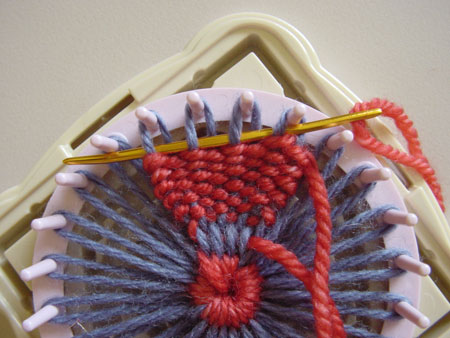
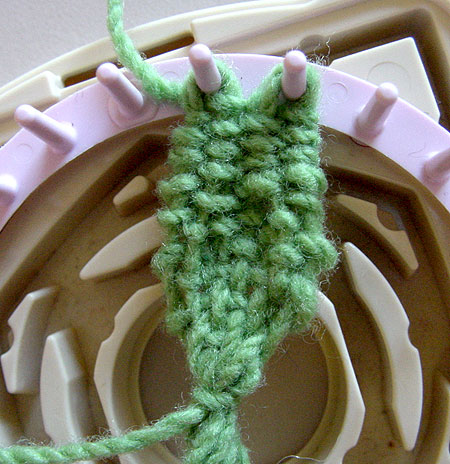
Weave the other five petals in the same way. |
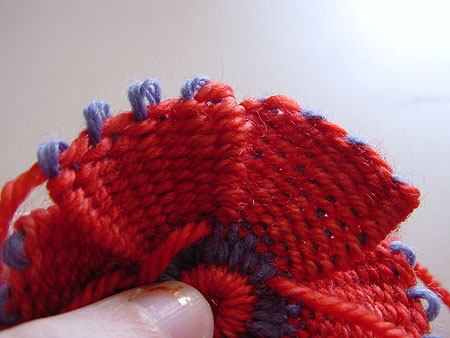 |
Pop your flower off the loom and gently push the last few rows of weaving upwards to fill in the loops at the top of each petal. |
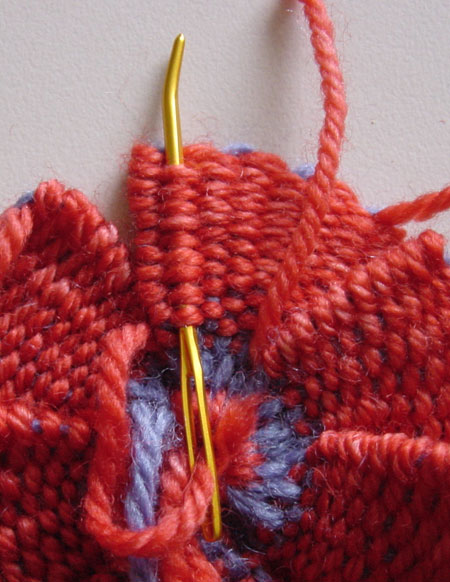 |
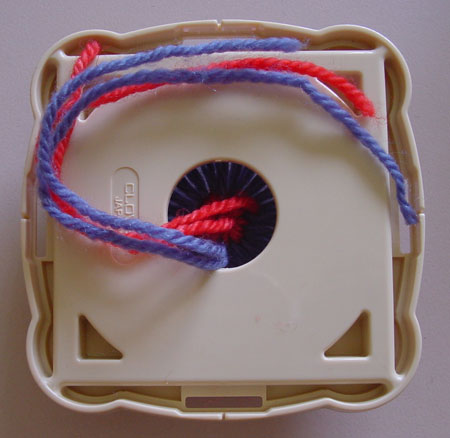
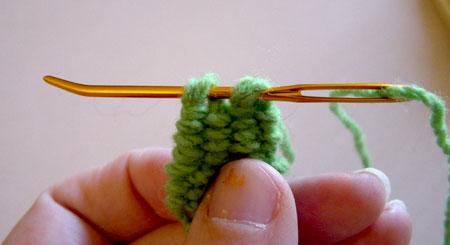
Darn the ends of your yarn at the base of each petal into the back of your flower by threading it through the second column of weaving from the edge |
 |
and pulling it through. Trim the end close to your weaving.
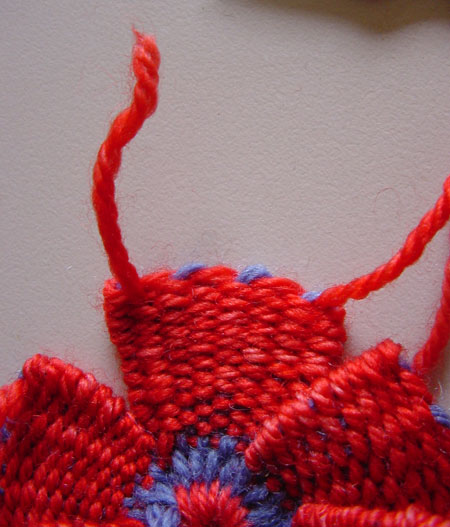
Darn in the ends at the top of each petal into the outside column of weaving. |
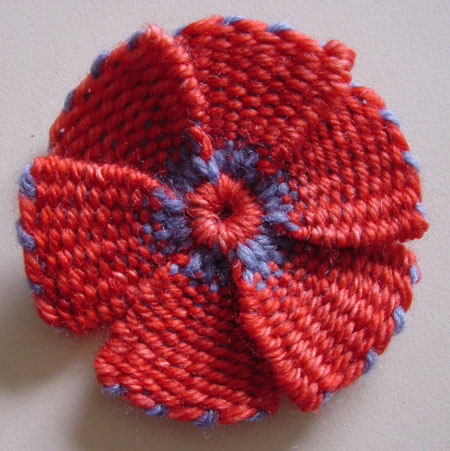 |
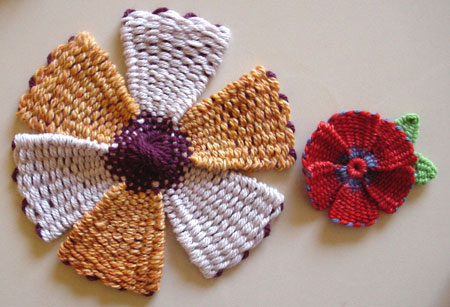
You now have a finished flower! |
 |
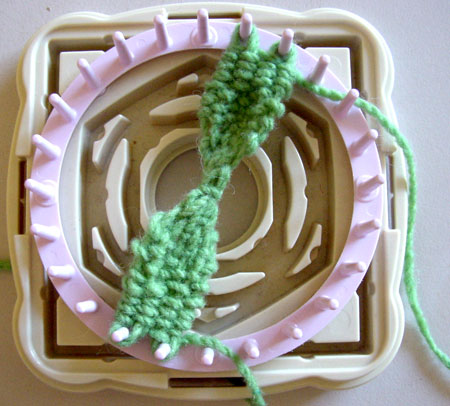
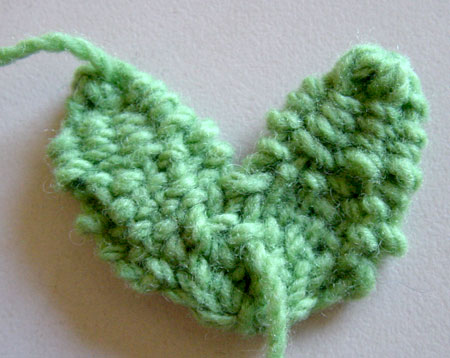
To make the leaves, wind your loom with four petals only on each side. Cut your yarn leaving a 16″/45cm tail if using a small loom and dk weight yarn. For a larger loom or finer yarn you will need more. You’ll be using this length to weave your leaves and sew them to your flower. |
 |
Take the yarn that lies on top and thread it under the centre of your threads. |
 |
Unhook the yarn from the front of your loom and tie the two pieces together to secure your loops. |
 |
Using on end of the thread, weave halfway up one leaf, as you did for the petals. |
 |
To shape the leaf, move the outer two loops to the inner pegs |
 |
and continue weaving as if you only had two loops. Over one, under, over, under |
 |
Weave back the other way in the same manner, over, under, over, under |
 |
Continue until the leaf is fully woven. Don’t cut the yarn and don’t take the loops off the loom yet. |
 |
Weave the second leaf in the same way. |
 |
Now take the leaves off the loom and thread the yarn through the loops |
 |
and pull tight to create the tip of the leaf. |
 |
Darn one end into the back of a leaf until the midway point. |
 |
Use it to stitch the leaves into a V-shape. Darn the end into the back of a leaf to secure it and cut it close to the weaving. |
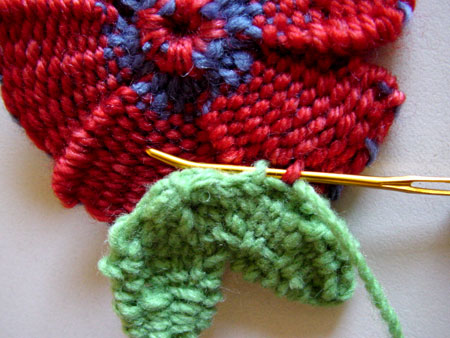 |
Use the other end to sew your leaves to your flower. |
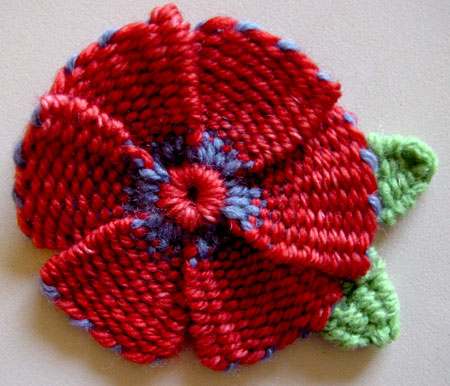 |
You now have a finished flower 🙂 |
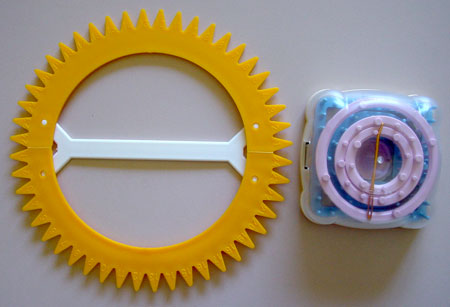 |
The Hana-Ami loom isn’t the only 24 pin flower loom available although others can be difficult to find. On the left is the 48 spoke Fiorella loom by Phildar shown next to the Clover Hana-Ami loom. |
 |
The Fiorella loom makes 8″/20cm motifs. I wove the flower on the left by winding around every second spoke.
If you can’t find a 24 pin loom why not make one? I haven’t tried it but if you cut a circle out of a thick plywood an inch or so larger than your finished size, cut a smaller circle out of the middle and tap 24 small nails at equal intervals in a circle you should have a serviceable loom. |
Copyright Sarah Bradberry, 9th April 2010. All rights reserved.