
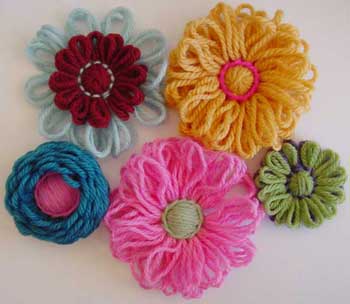
Embroidering with loomed daisies opens up a whole range of new possibilities. Here are a couple of techniques that I have used.
 |
Firstly you will need some flowers, a sewing needle and thread and something to stitch your flowers to. An embroidery frame or hoop will also come in handy if you are stitching to a very drapey fabric. |
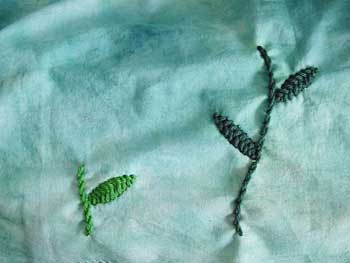 |
Step 1: Prepare your background. I dyed some white cotton homespun and embroidered some stems on it with tapestry wool. |
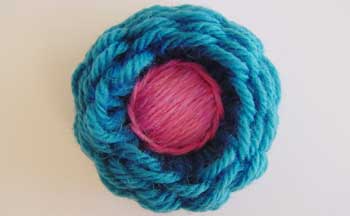 |
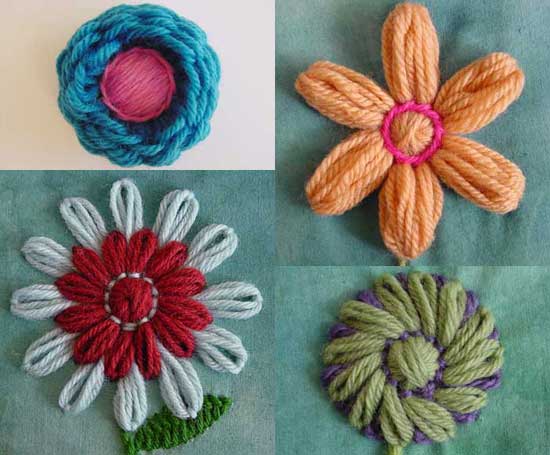
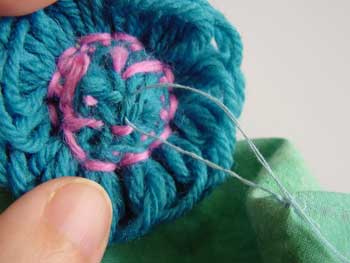
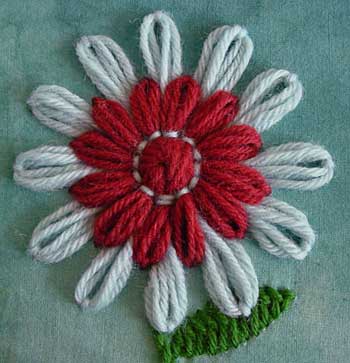
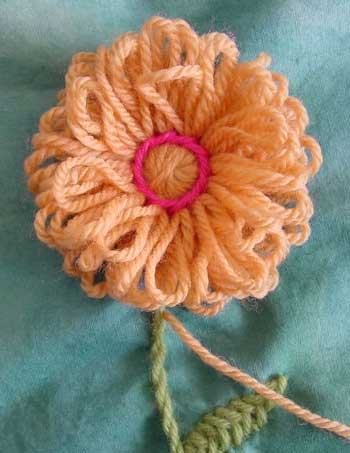
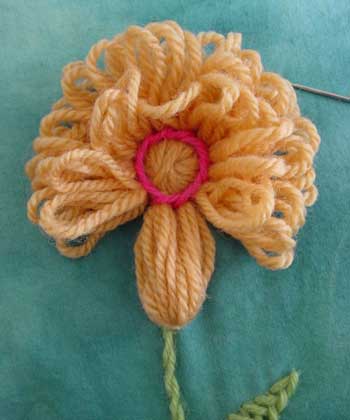
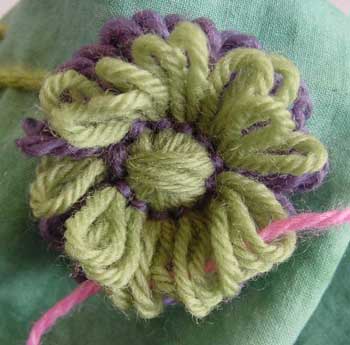
The first kind of flower is sewn on. I have chosen a puffy flower because they’re very three dimensional and add interest to an embroidery. |
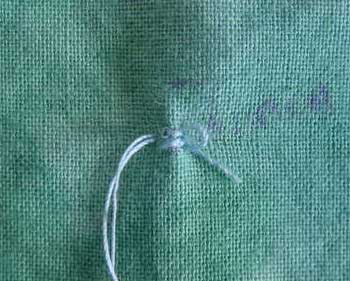 |
Take your sewing thread and needle and secure the thread to the background by making a few stitches in the same spot. These will be covered by your flower. |
 |
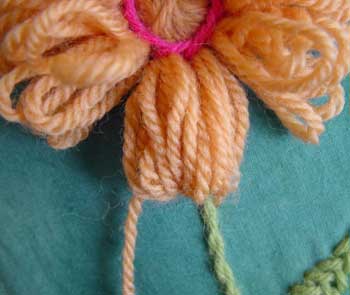
Take a stitch through the back of the flower |
 |
Then a stitch through your background fabric. |
 |
And a stitch through your flower |
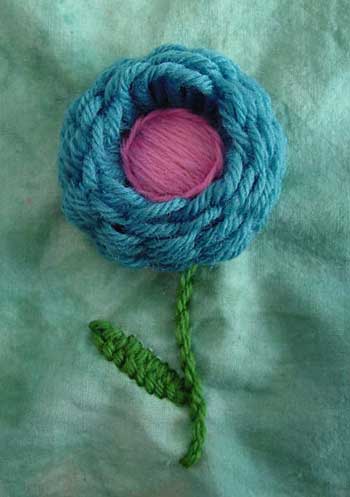 |
Keep going all the way around the back of the centre of your flower until it is firmly attached. |
 |
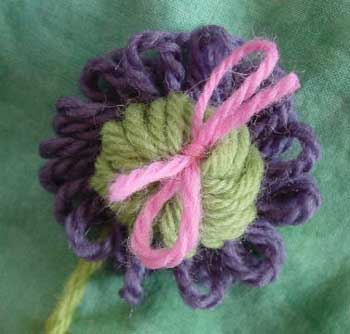
Tacked Petals
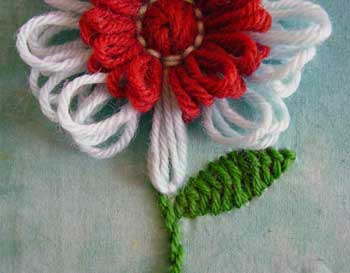
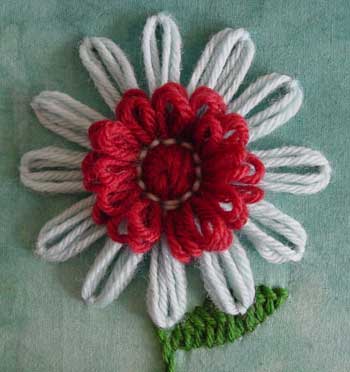
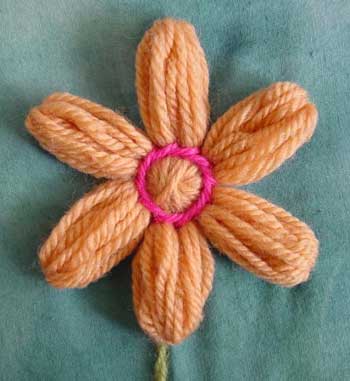
For the second style of flower you will need to make a flower with long petals and a centre of a different colour. The centre petals can be as long as the outer petals if you wish. |
 |
Stitch your flower to the background fabric. You might find the next step easier if you put your fabric in an embroidery hoop or stretch it on a frame.
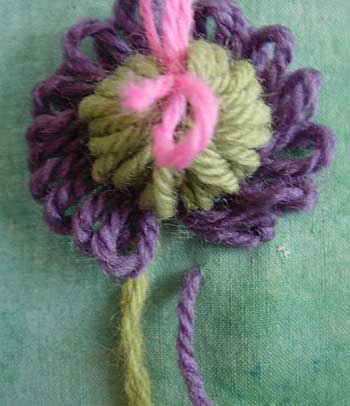
Taking the same yarn as you used for your outer ring of petals, stitch down all the loops of one of the petals with a single stitch, right at the ends. Don’t pull the petals out tightly as this will pucker your fabric. |
 |
If you want to you can stitch through a bead, button or sequin or use a different colour and stitch the petal down with a fancy embroidery stitch! |
 |
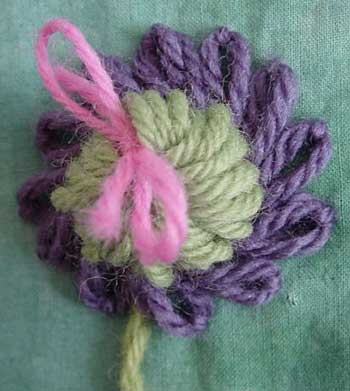
Continue all the way around your flower. |
 |
Then stitch the second layer of petals down between the first layer. You could also stitch them down over the top of the first layer for a different look. |
 |
Grouped Petals
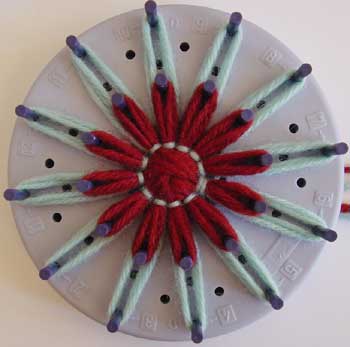
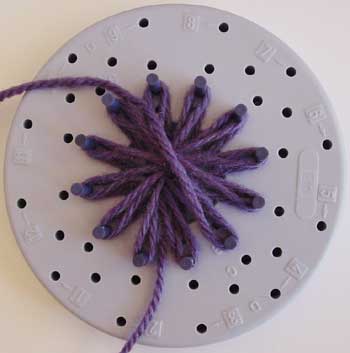
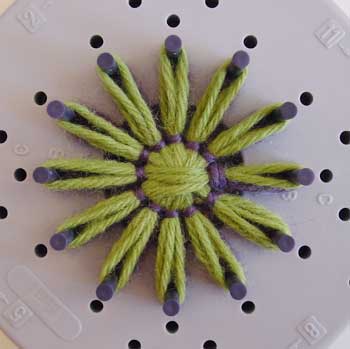
For a flower with grouped petals you will need to make a flower with quite a few rounds if you want your petals to be nice and puffy. I made mine with dk weight yarn and 6 rounds. |
 |
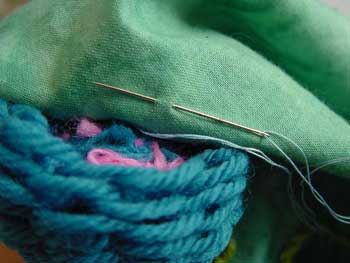
Sew your flower to background fabric, then put it in an embroidery hoop.
Thread a sharp wool needle with the same colour yarn that you used to make your flower and bring it through to the front of your embroidery from the back. |
 |
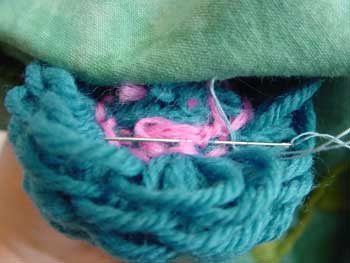
Thread the loops from two petals onto the yarn, then poke the needle back through the same hole in the fabric. |
 |
Repeat for the same petal to make sure it’s firmly stitched down and make a couple of stitches at the back of your work to stop it from coming loose. |
 |
Stitch down the rest of the petals in the same way. |
 |
Spiral Flowers, a Tacked Petal Variation
To make the final type of flower you’ll need a flower made with two colours of yarn. I made a 2 inch diameter flower with two rounds of blue |
 |
followed by two rounds of green. |
 |
Sew your flower onto your backing fabric and put it in an embroidery hoop.
Before you start stitching your petals down you might want to keep the top layer of petals out of your way by threading them onto a piece of scrap yarn |
 |
and tying it into a bow. |
 |
Thread your yarn onto a sharp wool needle and bring the thread to the front, slightly underneath one of the petals.
Thread the yarn through the next petal to the left. |
 |
Poke your needle back through the same hole and come out again level with the base of the petal that you just stitched down. This will make your petals swirl anti-clockwise. |
 |
Stitch all of the petals down this way. |
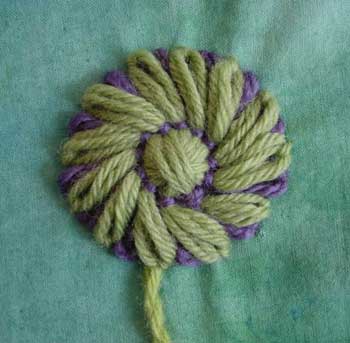 |
Then untie the top petals and stitch them between each of the first layer of petals. Don’t forget to make them swirl around as well. |
Copyright Sarah Bradberry April 2007. All rights reserved.