
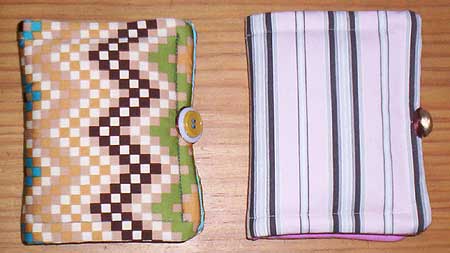
My vintage needle book went into a well earned retirement, so I decided I had to make a new one. These are very quick to make from fabric scraps and you can have fun embroidering the outside to make each one unique! I had so much fun making mine that I made a second one for my daughter.
Pattern
Materials
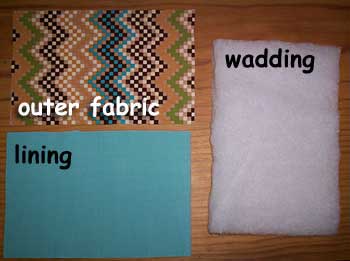
One 24 x 16cm rectangle of each of the following:
- outer fabric
- iron on interfacing (I used a heavy weight interfacing that I use for making bags)
- thick wadding (or several layers of thin wadding if that’s all you have)
- lining fabric
- 8cm length of 5mm ribbon
- 1 button
1: Iron the interfacing onto the wrong side of you outer fabric
2: Layer the fabrics in this order:
- Outer fabric
- Lining fabric (with right sides facing each other)
- Wadding (on the top)
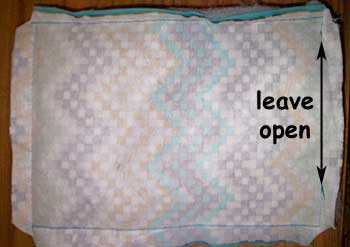
Stitch all the way around using a 1.5cm seam allowance, leaving an opening on the side that will be the back of your needle book when closed.
3: Clip the corners and trim away half of the wadding from the seam allowances.
4: Turn right side out. Make sure to pull the corners out completely.
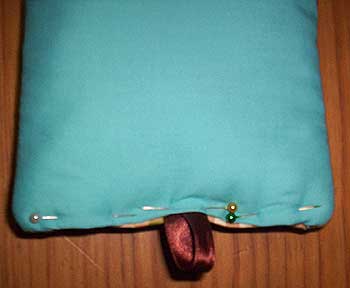
5: Make a loop from the ribbon and insert it into the centre of the portion side you left unstitched. Pin in place and hand stitch closed.
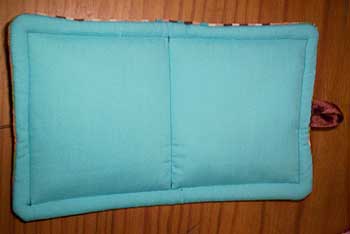
6: Top stitch all the way around, about 1-1.5cm from the edge.
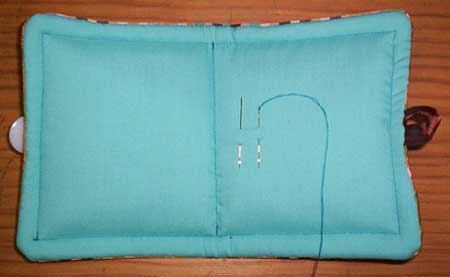
7: Stitch a line down the middle of your needle book as a fold-line for closing it.
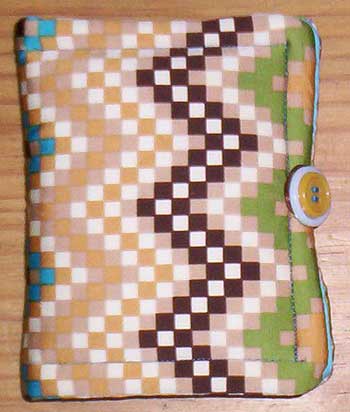
8: Sew a button opposite the ribbon loop and you’re done!
Copyright Sarah Bradberry 2006. All rights reserved.